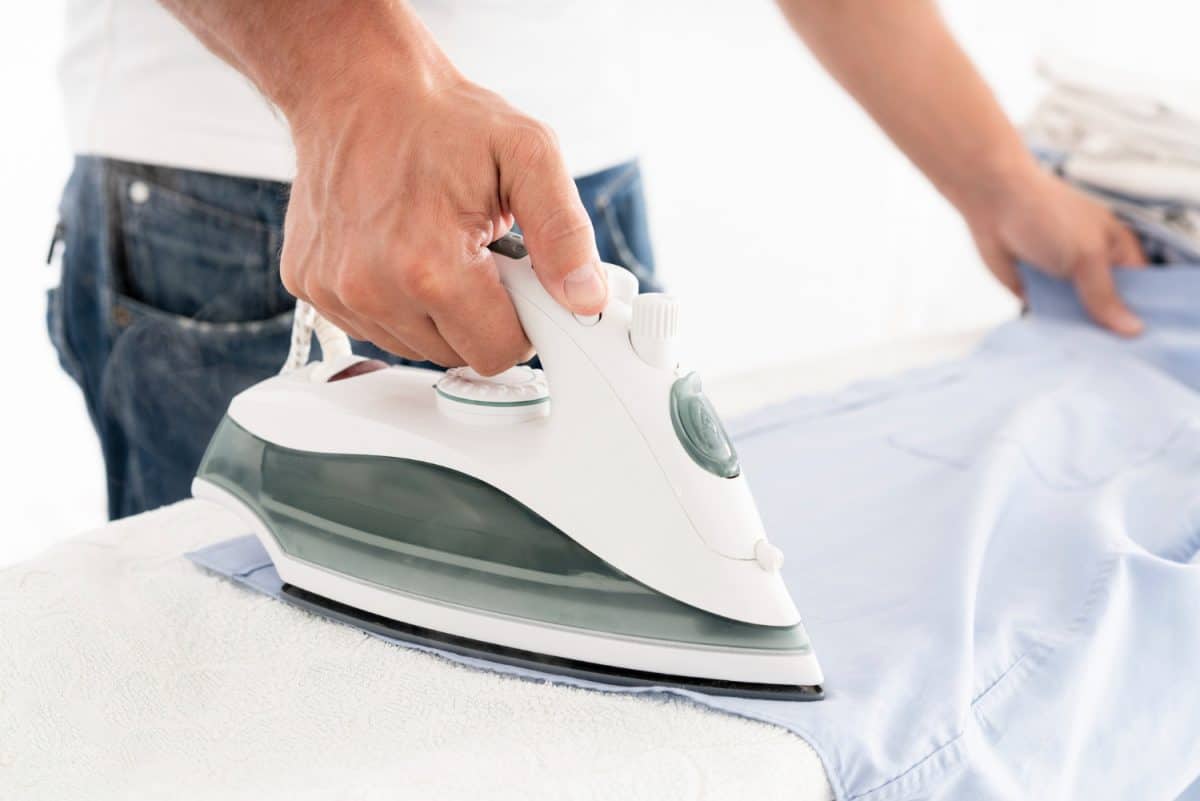
If you want to look good and you want to look neat, you should make sure that your shirt is well ironed
If you’re going to a business meeting, a romantic dinner, or a job interview, a rumpled shirt can make a negative impression from the start. So it’s a good idea to make sure your closet looks impeccable. Ironing a shirt has its own technique, in which the order is particularly important.
First, a note – perhaps obvious for many – iron only clean shirts, because high temperatures can stain clothes. Ironing can be made easier by doing two simple things right after washing: after taking the shirt out of the washing machine, shake it vigorously and hang it evenly, preferably on a hanger. This will avoid additional creases and make it easier to iron the shirt. Ironing a slightly damp shirt may also be easier. Make sure the iron’s soleplate is clean before you begin – burns can leave marks on your shirt. Set the iron to the correct temperature for the fabric. Make sure there is water in the iron beforehand. Turn on the steam generation and get started!
First, undo all the buttons of the shirt so that you can reach every part of the shirt with the iron. If the shirt has more than one layer, iron on both sides, starting at the inside and finishing on the outside. Start at the collar, or more precisely at the edges, and work your way towards the middle.
Next, place the shirt on the narrower part of the ironing board and move on to the neck and shoulder area. Tighten the fabric slightly and be careful not to crease the previously ironed collar. Start from the right or left shoulder, then go through the middle.
Start ironing the sleeves from the cuffs. For button cuffs, iron the inside first and then the outside. For cufflinks, the order is the other way around, since the inner part will be the visible side after being turned up. Start with theoutside. Then move on to the sleeves themselves. Spread them out along the seams. As ironed edges do not look good, be careful not to run the iron over the edges of the sleeve. Then turn the sleeve (and the shirt) inside out and iron in the same way, being careful not to mark the edges. Finally, unfold the sleeves so that you can iron the edges that were not touched before.
>> See also: The ABCs of wood floor cleaning
The next step is to iron the back of the shirt. The fabric should be well stretched, laying the top of the shirt on the tapered board. Iron from top to bottom. When ironing large sections of the shirt, be careful not to crease the previously ironed sleeves and shoulders.
Finally, move on to ironing the front of the shirt. First lay out one section, either right or left, stretching the fabric well on the board and, as with the back of the shirt, start from top to bottom. Finally, take care of the button area. Remember not to run the iron over the buttons! The heat may melt the plastic.
Once the whole shirt is ironed, you can go back to the collar to smooth out any creases that may have occurred in other areas. The collar is the most eye-catching part of the shirt, so it is worth ensuring that it looks impeccable.
A wobbly and weak ironing board can make ironing difficult. Its dimensions are also important – for your comfort, the ironing board should be high enough and have a sufficiently wide ironing area, so that you don’t have to move a shirt additionally when ironing one section. For deeper creases, more steam or spraying water on the fabric may help. If you are ironing dark-colored shirts, it is a good idea to iron through a cotton cloth, to avoid shiny fabrics.